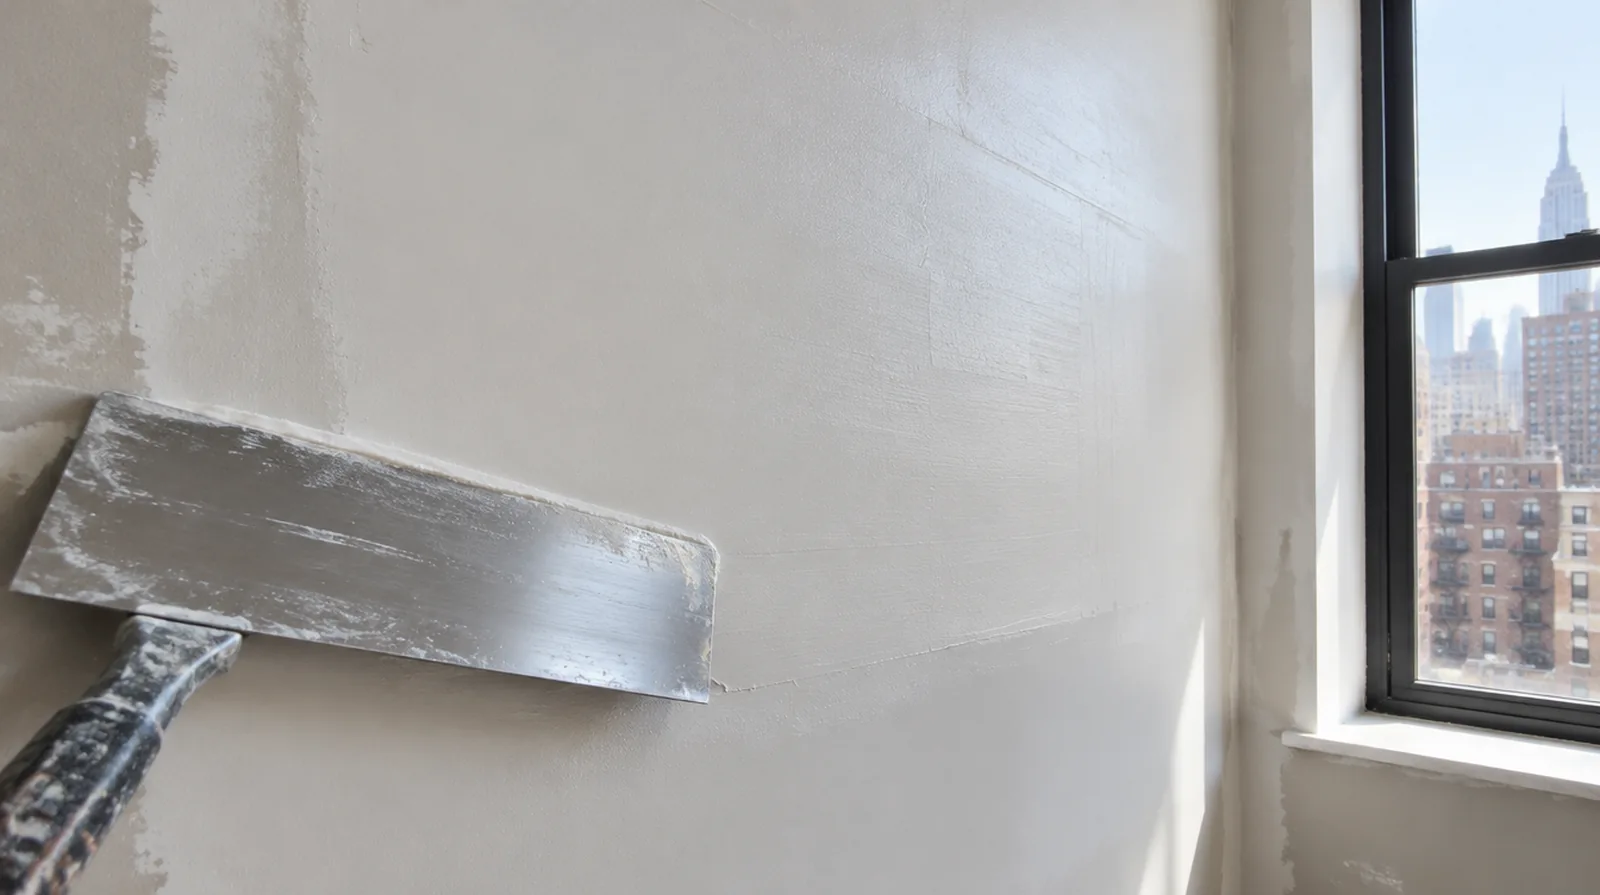
Clean and prepare the wall
Adhesion can be compromised by dirt, oil or residues left on the old coating. Preparation may include cleaning and a suitable bonding treatment based on the condition of the existing surface. For an initial assessment from pictures, provide an overall room photograph and a detailed view of the defect so both context and scale are apparent.
Work around trim carefully
Protect the junctions around frames, baseboards and fittings while planning how the new surface will meet them. Talk through whether removing trim is worthwhile or whether the finish will stop cleanly against it. For a repair that crosses several surfaces, measure the affected planes separately so the estimate can explain where each finishing treatment starts and stops.
Apply controlled thin layers
A skim coat is intended to refine the surface rather than build a heavy unsupported layer. Deeper texture may require successive passes to level low spots without overloading the high points. For a planned new wall mounted fixture, resolve its backing requirements while the cavity remains open instead of cutting into completed drywall later.
Let each coat dry
Allow each application to become ready for the next under the interior conditions actually maintained. Disturbing soft material too early can undermine an otherwise careful smoothing pass. If there is a fixed move in date, reserve adequate time for the coating stages after drywall work instead of counting only the installation period.
Refine with minimal sanding
Careful application limits how much abrasive refinement is needed later. Even so, plan dust protection and extraction for the fine particles produced by broad surface work. Where the quoted work stops before painting, request a clear description of what remains so the next decorating stage can be priced realistically.
Prime before decoration
The new skim needs compatible priming before its final decorative coatings. Primer helps equalize absorption and may reveal small touch ups that should be resolved before the final coat. When the project space includes a doorway, check the clearance for panel movement as well as the amount of space available for finishing tools.
Choose paint with the finish
A glossy decorative choice may reveal variations that a lower sheen makes less apparent. Connect the paint selection to the agreed preparation standard before deciding how extensive the skim work ought to be. Where a surface has been painted many times, consider whether differences in texture or sheen will require a wider decorative treatment.
Define the smoothing target
Flattening a light texture is distinct from correcting deep waves across an entire wall. The scope should describe what the skim is expected to improve and what remains outside that finish treatment. When the work area includes a doorway, check the clearance for panel movement as well as the amount of space available for finishing tools.
Check underlying movement
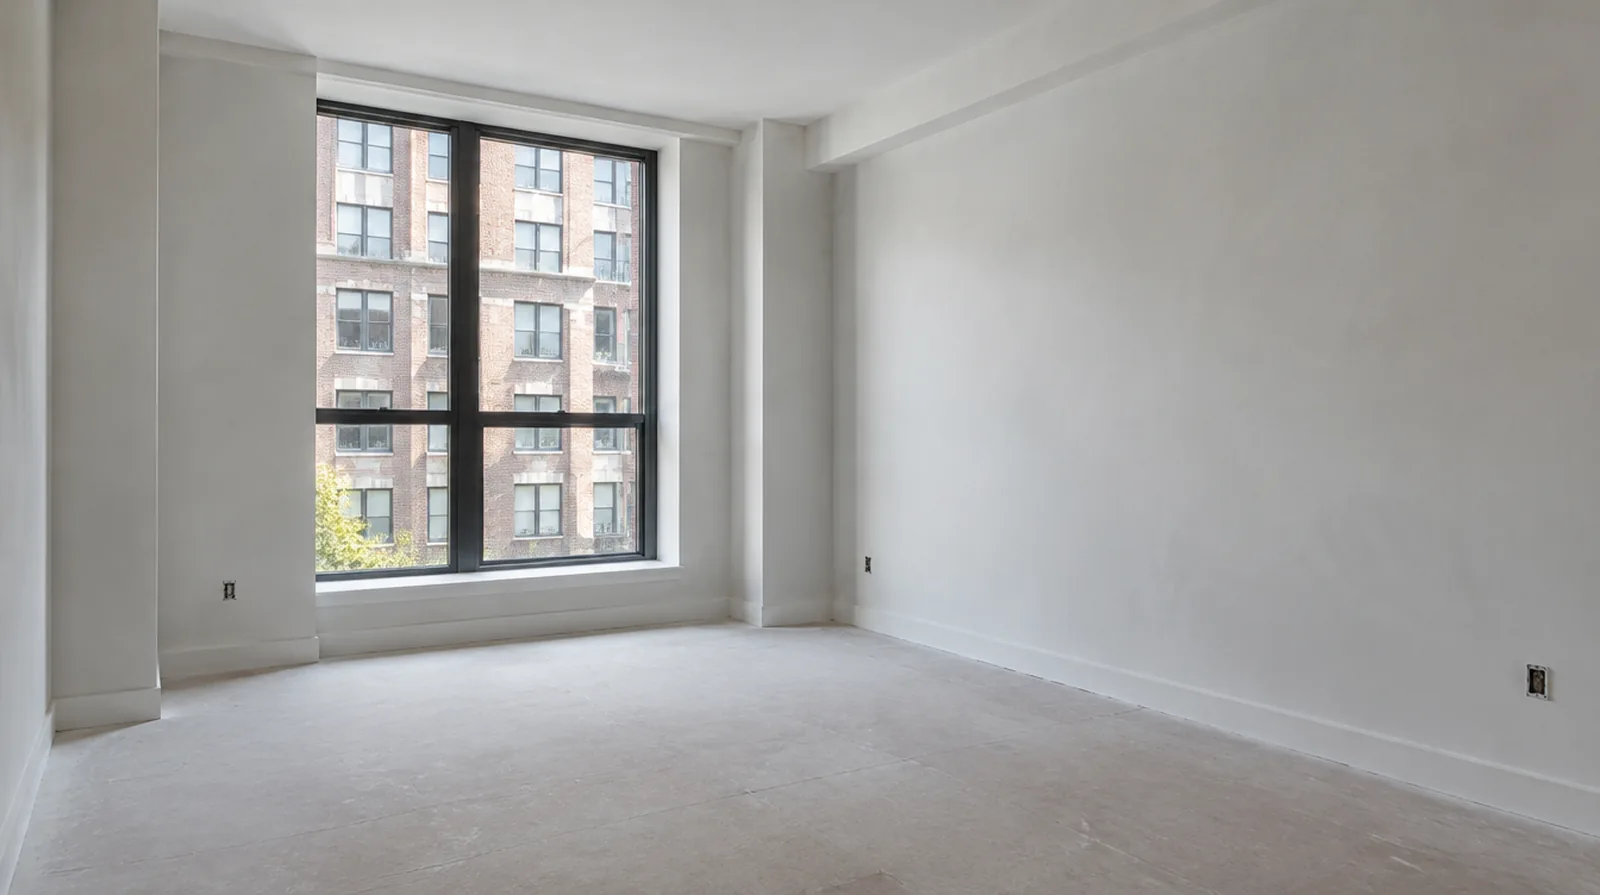
A skim coat improves the surface profile but does not repair structural movement or unstable board. Assess recurring cracks and complete necessary reinforcement before covering the area with a skim. If the surface condition is uncertain, allow for an assessment that can distinguish stable material from layers that ought not to be covered.
Stabilize torn paper
Exposed drywall paper can bubble when it receives wet compound without suitable preparation. Stabilize those paper defects with an appropriate treatment before beginning the broad skim application. If the coating stability is unclear, assess which layers are adequately bonded and which ought to be removed rather than simply hidden beneath new material.
Project context in New York
A measured sketch of the route is more useful than assuming that a sheet fitting the wall will fit the building. Building access arrangements and any required approvals should be settled independently of the surface repair itself.
Scope questions before finishing
Before comparing two proposals, check that both include the same protection, finishing and cleanup boundaries rather than comparing totals alone.
When the history of a repair is uncertain, note when it became visible and whether its appearance has altered across distinct seasons.
At the handover inspection, review the finish from ordinary room positions using the lighting conditions that were agreed for the work.
If the coating stability is unclear, assess which layers are adequately bonded and which should be removed rather than simply hidden beneath new material.
If the proposal requires return visits, identify the purpose of each stage and the intervals during which finishing material needs to remain undisturbed.
If the completion date matters most, allow for intervals between coats as well as active labor rather than assuming the entire process happens continuously.
For work spread across distinct planes, record their dimensions separately and describe the boundary of the treatment on each surface.
If access passes through a shared space, arrange protection and a delivery route that do not unnecessarily obstruct other occupants.
When the same defect has returned, share information about previous repair methods so the next assessment can consider why they did not last.
For a tightly furnished room, plan temporary storage and the minimum working clearance before material is carried into the property.
For walls beside bright windows, review a dry sample from an oblique angle as well as looking straight at the repaired surface.
If the ceiling or wall includes fittings, identify the person responsible for removing and reinstalling each item before the work begins.
Explore the New York drywall overview for related options, or read the project planning information before arranging the next stage.
More planning details for New York
A New York apartment project can be constrained by the route into the room before the size of the repair matters. Ask about lift reservations, shared corridor protection and the space available to turn a full board at the apartment entrance. Inside the room, tall windows can send light across a long wall and reveal a poorly feathered transition.