
A plan built around the room, not only the patch
New York Drywall Company brings drywall repair and finishing options together for apartment renovation in New York. Start with what is visible, then identify what the surface depends on: firm board, stable framing, dry material and a realistic decorative finish. A small hole and a ceiling with recurring marks may look like similar cosmetic jobs from a distance, but the preparation can be quite different. The first conversation should establish what caused the problem and what must happen before a sound repair can be made. That approach keeps the proposed work connected to the condition of the property rather than a one size fits all patch.
Commercial Drywall: schedule inspection stages
Coordinate inspections with the stage when the relevant part of the assembly can still be seen. The work sequence should allow the responsible inspector or project professional to review the relevant stage. For this part of the project, agree containment and cleaning measures before settling the way the room will be staged. See the commercial drywall guide for the scope questions, preparation stages and finishing decisions specific to that work.
Texture Matching: control application conditions
Compound consistency and application distance affect how a sprayed pattern lands on the wall. Room conditions and drying rate also influence when a knockdown pass should be made. For this part of the project, specify protective measures and review the path used by panels, equipment and finishing tools. See the texture matching guide for the scope questions, preparation stages and finishing decisions specific to that work.
Water Damage Drywall Repair: assess material condition
Staining, swelling, softened edges and loose paper help determine which panels could need removal. The visible mark does not always show the full extent of the affected cavity. For this part of the project, check the clearance for panel movement as well as the amount of space available for finishing tools. See the water damage drywall repair guide for the scope questions, preparation stages and finishing decisions specific to that work.
Drywall Installation: confirm concealed work
Required checks on concealed services and insulation ought to be completed while the wall remains open. Photographs and a written readiness check help avoid opening a newly installed wall later. For this part of the project, plan temporary storage and the minimum working clearance before material is carried into the property. See the drywall installation guide for the scope questions, preparation stages and finishing decisions specific to that work.
Drywall Repair: choose the patch boundary
The repair must reach gypsum and paper that remain intact, rather than stopping at the visible outline of the hole. Squaring an opening can create a workable edge for backing and a securely fitted replacement. For this part of the project, make sure their protection, surface finish and disposal allowances describe equivalent work before comparing the final prices. See the drywall repair guide for the scope questions, preparation stages and finishing decisions specific to that work.
Skim Coating: define the smoothing target
Removing the visual effect of light texture is not the same task as straightening a badly uneven plane. Describe the expected improvement and any retained wall variation in the agreed finish scope. For this part of the project, settle the sequence with flooring, trim and cabinet work before setting a final finishing date. See the skim coating guide for the scope questions, preparation stages and finishing decisions specific to that work.
Drywall Finishing: allow genuine drying time
A firm outer skin does not always mean the material beneath it is ready for sanding. The drying interval changes with indoor humidity, temperature and the available movement of air. For this part of the project, assess the complete package of access and protection instead of relating cost only to the opening size. See the drywall finishing guide for the scope questions, preparation stages and finishing decisions specific to that work.
Soundproof Drywall: set realistic goals
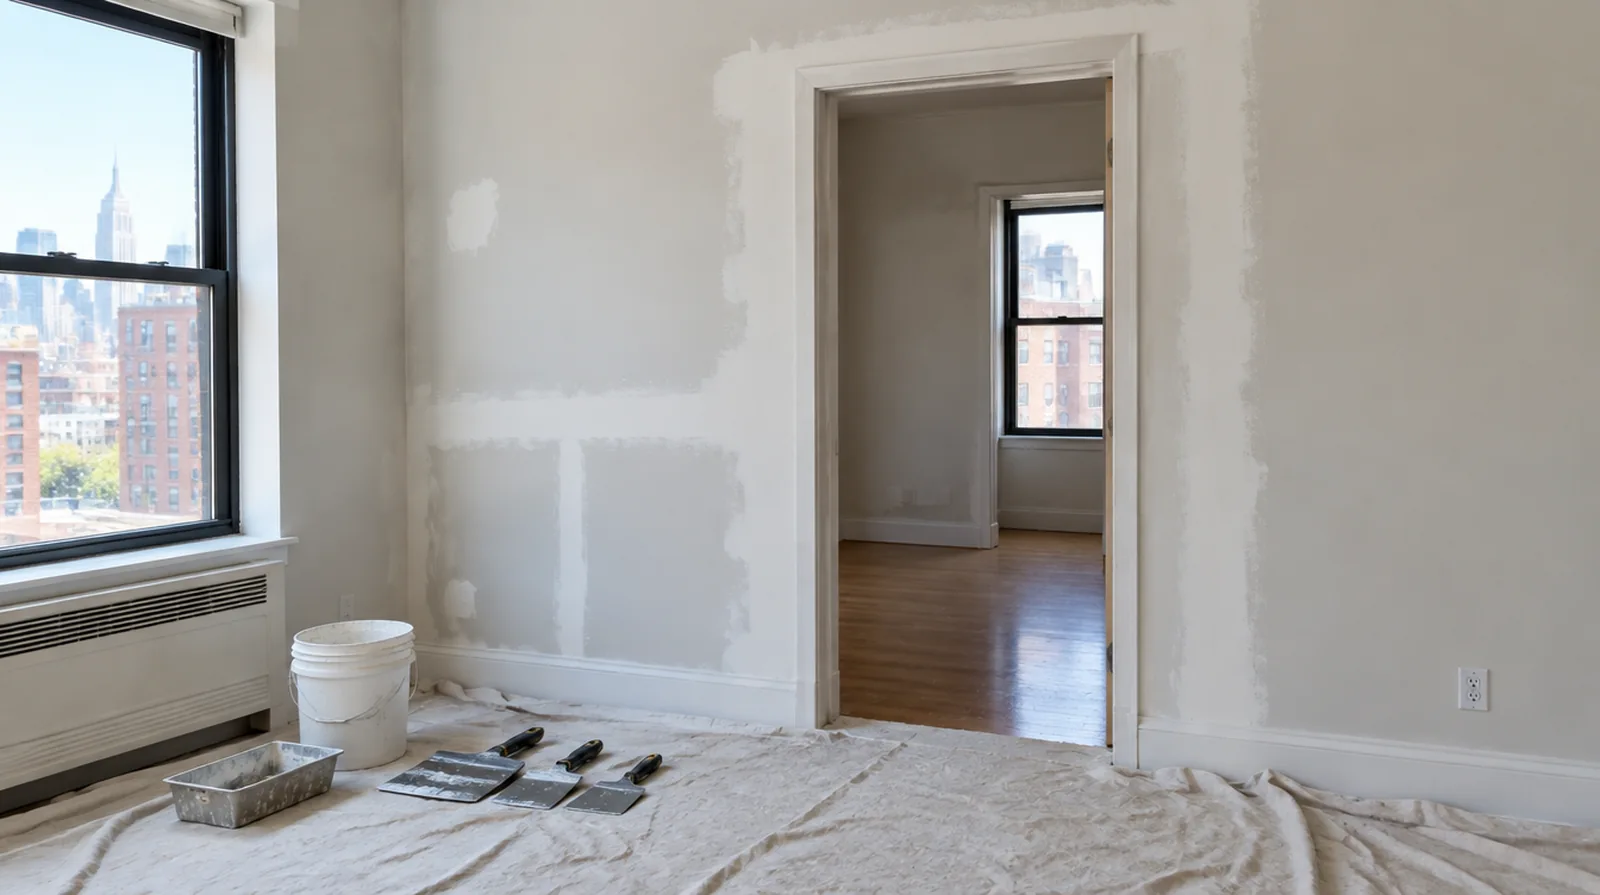
A heavier wall may not solve a complaint if sound still passes through openings and nearby junctions. Explain improvement goals at assembly level instead of promising that one product will make the interior silent. For this part of the project, retain a reference sample or detailed picture to make the matching discussion more specific. See the soundproof drywall guide for the scope questions, preparation stages and finishing decisions specific to that work.
Ceiling Repair: set the repainting scope
A small fresh white patch can stand out against an older ceiling even when the surface is level. Painting to a natural boundary may be preferable to touching up only the repair. For this part of the project, compare the total scope rather than assuming the price should follow the hole dimensions alone. See the ceiling repair guide for the scope questions, preparation stages and finishing decisions specific to that work.
Popcorn Ceiling Removal: repair exposed imperfections
Removal can uncover damaged paper or shallow defects that must be stabilized before finishing. The repair allowance ought to be discussed before the original texture is removed. For this part of the project, keep a small reference sample or a close photograph to support the discussion about blending and restoration. See the popcorn ceiling removal guide for the scope questions, preparation stages and finishing decisions specific to that work.
Access and drying conditions in New York
Every apartment renovation has practical constraints. Discuss shared corridors and lift arrangements while the rooms can still be assessed together. In a place with cold winters and humid summers, the conditions inside the work area matter more than an assumed drying schedule. Heating or cooling, airflow and the number of wet finishing coats can all influence when the surface is ready for the next stage. For a project focused on room by room work in an occupied apartment, leave enough time to verify the underlying condition before covering it. Keeping one room usable may require a staged plan, while an empty property may allow broader protection and more direct material movement.
Compare the same finishing boundary
A meaningful comparison starts with what each proposal actually includes. Ask where damaged material will be removed, what remains in place, how the replacement is supported and what finish is expected before paint. Then check the edges of the scope: protection, disposal, primer, decorative coatings and the handling of fixtures. Those details can explain a price difference that the size of the patch alone does not. If hidden damage is discovered, agree how it will be assessed and documented before more work goes ahead. Clear boundaries are useful for a single room repair and just as important for a larger interior remodel.
Arrange the information before the next step
Prepare a wide photograph of the room, closer views of the affected surface and rough measurements. Note any known leaks, earlier repairs or changes in the building. Describe the desired appearance after decoration and whether the room needs to remain occupied. A site assessment can then focus on the material condition and the most suitable method, instead of using the first visit only to discover basic access details. Visit the contact page for the business address and a map of the area served. Use the form to describe the work; or call the number shown at the top of this page.
Read about the project approach or view contact and planning details.
More planning details for New York
A New York apartment project can be constrained by the route into the room before the size of the repair matters. Ask about lift reservations, shared corridor protection and the space available to turn a full board at the apartment entrance. A measured sketch of the route is more useful than assuming that a sheet fitting the wall will fit the building.